
Designing reports in Google Docs
A guide to editing and constrction
This outlines the Google Doc functionality we’ve used for the key design elements for a simple report template within Google Docs.
It demonstrates the functionality and flexibility of Google Docs to achieve professionally designed reports with a lower spend on graphic design, using design only for front covers, color adjustments, and custom graphics. If you’re able to work this way, it also reduces the amendment time for editing the document, as your team will be able to edit it directly.

If your report is relatively simple and doesn’t require a large amount of complex pages, Google Docs can do the job. Add custom graphic and photographic content to the report document for title pages, figures such as graphs or infographics, and photographs.
You can download a PDF example below of a report designed in Google Docs & a link to the Google Doc yourself. If you would like to use it, you can duplicate the file.
If this is something you’d like visually customised, we can work with you to produce this, but you’re also welcome to try and do it yourself with the instructions below. Please get in touch if this is something you’re interested in.
An overview of key functionality
1. Using text breaks for the end of sections
A) Page break (Command + Enter)
This adds a hard return and will ensure that your content appears on the next page. Use this in new sections. This way any content that is added to previous pages won’t overflow into the next sections. (see example of where this appears in the menu below)
2) Column breaks
This is the same principle, but will move the text aftr a column break over to a new column.


2. Setting up columns
A) Setting up your main column system that the majority of your document will be in.
For example, if most of your text is in two columns, select this.

Setting the columns structure for the pages. If your document predominantly uses two columns for the flowing of your text, The column system you select will be applied to your entire document. Unless you set up the typographic style to ‘Span the tw columns,’ the text will flow across both columns whichever spread they are on.
Go to Format > Columns > Select Two columns (see screenshot)
B) Sections with Single columns, such a title pages
Select the passages of text you want to be in a single column.
Ensure they are separated with a columb break at the end.
Go to Column Options
Change number of columns to 1
Press Apply

C. Keeping headers on the same page
“My headers are flowing onto the next page and I want to stay on this page.”
If this is happening, simply apply the ‘Keep this paragraph on the same page as the next paragaph’ option.
This will need to be done per paragraph on a case by case basis as opposed to globally across the document.

3. Full bleed pages
You may want to do this as a section break or if you want a full bleed quote page template.
The main problem we have here is that when inserting a picture, we end up with a footer added overlayed on top of the image.
Here’s how you get rid of this problem. What we’re effectively doing is replicating the front page (as this function will add another section to the document). Because of this, Google docs will pull through the front page, image.
We’ll need an image large enough to cover the A4 and it must be fully opaque to cover the image that will be below.
A. Add a section break
Frist, we need to add a section break.
Insert a section break at the end of the page before the one where you want to remove the footer. To do this, place your cursor at the end of the page and go to Insert > Break > Section break (next page).

Repeat this process at the end of the page where you want the footer removed.
After inserting these section breaks, you can change the footer content for the new section. Click on the footer area of the page where you want the footer removed, then uncheck the option "Link to previous" in the footer toolbar. This allows you to have different footers in different sections of the document. You can then delete the content of the footer in this section.
B. Blank Footer:
If the content of the footer isn't too large, you can simply insert a blank footer on the specific page. This won't technically remove the footer, but it will make it appear empty.
C. Adding a new image
Add the image via the insert menu

D. Set the image ‘wrap’ style
Double click on the image and select the icon which reads' ‘Behind text’. This will mean that the image should be controllable on top of the document’s margin and layout restraints ( allowing us to make it full bleed).


E. Scale & position the image
It can sometime bet tricky to get the image into the right place. By double clicking on the image and increasing the size and crop, we can achieve a full screen image. This is best done through experimentation. In the screenshot below, you see the dark black handles define where the mask is (the are which shows the image.
The outer handles ( blue squares) will control the size of the image within that crop area. You can also drag the image around the crop area.

F. Setting the position of the image.
It can be tricky to get the cropped image to sit on the edge of the page. Here’s a trick: in the image options accessed by double clicking on the image (screenshot below), set the ‘Position’ value to be ‘Fix position on page’. Set these values to 0, and this will move the image to the edge.
The whole process can take a bit of trial and error as the editing function is not super user-friendly, but you could get there with persistence


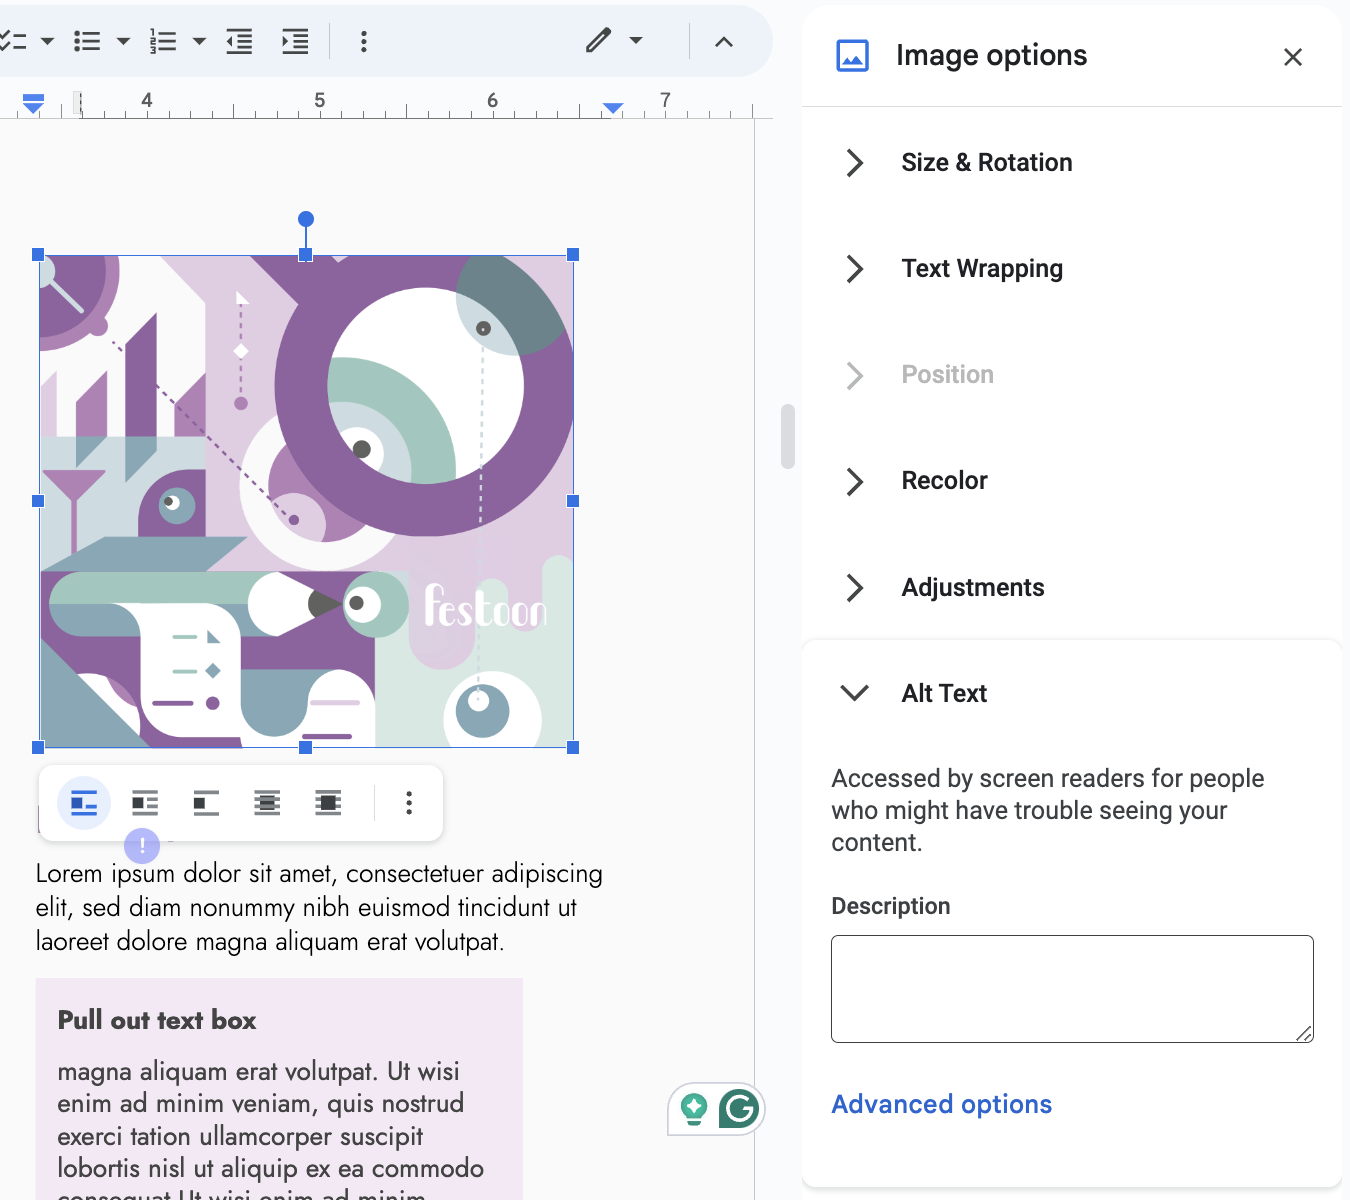
4. Making your images accessible
Add alt-text to your key images. This will allow them to be described accurately by screen readers.
Right click on the image, select Alt-Text. (There is a shortcut for this. This may be worth using if you are editing a lot of them)

Understand the Purpose
Alt text (alternative text) serves two main purposes:
Accessibility: It describes images to those who cannot see them, enabling a better understanding of the content.
Fallback: It provides context when images cannot be displayed due to technical issues.
Be Descriptive and Concise
Descriptive: Clearly describe the image's content and context as it relates to the surrounding text. Include details that are crucial to understanding the image’s purpose.
Concise: Aim for brevity. A good rule of thumb is to keep alt text under 125 characters if possible. Screen readers may cut off longer text, so concise descriptions are preferred.
Use Specificity Appropriately
The level of detail should match the image's significance to the content. For instance, if an image is purely decorative, it might not need detailed alt text or any at all. In contrast, a graph or chart requires detailed descriptions to convey the data it represents.
Avoid Redundant Phrases
Skip phrases like “image of” or “graphic of,” as screen readers often provide this context. Start directly with the description.
Consider the Context
Your description should reflect why the image is included. If an image has text, include the text in your alt text. If it’s a functional image, like a button, describe its function (“Search button”).
Use Keywords Wisely
For content that relies on search engine optimisation (SEO), including relevant keywords in your alt text can be beneficial, but ensure they are used naturally and are directly relevant to the image and content.
Examples
Decorative Image: If the image doesn't add information (e.g., a floral border), you can use an empty alt attribute to mark it as decorative.
Informative Image: “A Labrador retriever sitting next to a yellow ball in the park.”
Graph or Chart: “Graph showing a steady increase in global temperatures from 1900 to 2020, highlighting a significant rise after the 1980s.”
5. Image quality & exporting
If your document has images in it, exporting directly to PDF from Google Docs can/will downsample any JPEG or PNG (or any raster format) imagery. This may not be an issue for you, but if it is, Microsoft Word can export its documents to PDF with a higher image resolution.

The best thing to do is download as a Word document, open it in Word and then export to a PDF from your Word document. This will retain the original image quality. For whatever reason, Google Docs doesn’t allow this functionality.
Checking your Microsoft Word document
When you download a Google Doc in Microsoft Word format, many of the accessibility features you've implemented in Google Docs should be retained, but the transition may not be perfect due to differences in how the two platforms handle formatting and accessibility features. Here’s what typically happens with some common accessibility settings:
Alt Text for Images
Alt text added to images in Google Docs should carry over to Word. However, it's wise to verify the alt text in Word after the conversion to ensure it has been retained correctly.
Lists and Tables
Preserved Structure: The structure of lists and tables is generally preserved during the conversion. However, the accessibility of tables in Word depends on the use of table headers and other formatting options, so check these after converting.
Hyperlinks
Hyperlinks, along with their descriptive texts, are typically maintained when exporting from Google Docs to Word.
Additional Accessibility Features
Check After Conversion: Features such as colour contrast, font choice, and spacing are generally preserved during conversion, but it's important to review the document in Word for any adjustments that might be needed to meet accessibility standards.
6. Placeholder pages & importing other pages to your PDF
It may be that the image quality on particular pages is still not at the standard you would like. This may be the time to get a designer to help you, or could be something that you can do yourself. The way I would recommend doing this would be allocating a page to that graphic within your current document, with page breaks. Leave the page blank with text written within it that indicates it’s a placeholder page. This would retain the correct pagination within your document, and let you add the additional page later.
I would also recommend bookending this page with page breaks so that it will always stay on its own page and other content doesn’t flow onto it.

A. Switch on invisible / non-printing characters
To switch on the invisible characters, go to View> Show non-printing characters.
It will show ‘Page break’ in blue text as in the screenshot above.
This just allows you to ensure that the page break has been added as you can see it visibly.

B. Asking a designer to replace the PDF page.
When you or your designer comes to replace this page on the final export of your document, they will be able to use Adobe Acrobat Pro or Adobe Acrobat to use the ‘Replace Page’ function. They will then be able to add a higher res page into the document you have exported.
Do you need a custom report design?

Our bespoke design concept for the Feeling Planet project.